![]()
![]()
![]()
![]()
![]()
CD-R/W drive/ portable storage solution (at least 5mb space)- Important for taking your files to your printshop
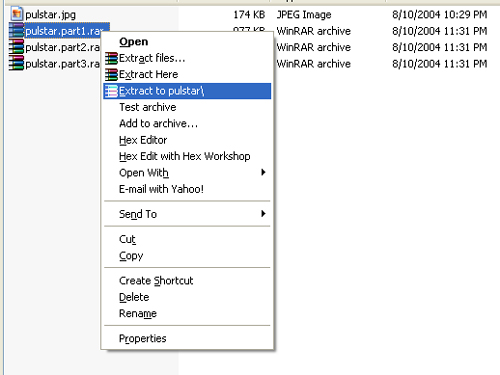
Extracting a rar: Once you have downloaded the inserts of your choice, you are left with files named "insert.part1.rar", "insert.part2.rar", etc. Now that you have WinRar, you are ready to extract the PDF files (which you will ultimately need to get them printed). First, goto the folder which contains your insert file that you want to extract. For these instructions, I'm going to use the PULSTAR files to serve as the example.
Right Click on the first part "pulstar.part1.rar" you will notice a menu pop up and some new options such as Extract files, Extract Here and Extract to pulstar\. Choose "Extract to pulstar\"
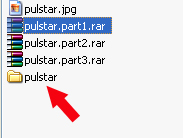
This will extract the PDF file contained within the 3 parts and create a new directory containing the extracted file "pulstar.pdf" shown below:
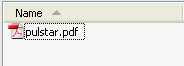
From this folder, double click and discover the treasure within! Your ready-to print Classic-Shock Shockbox insert!
Your ready to print!
Preparing your files: As mentioned at the top, it is important for you to have some way of storing your files onto media with a greater capacity than 1.44 floppy's (cdrw's, dvdr, etc). Get all of the *.PDF files that you extracted and burn them or store them all in one place. Something I also do is print-out a list of each file contained within my cd-rw on a sheet of paper along with my name. (clerks find this usefull for reference when doing the job.)
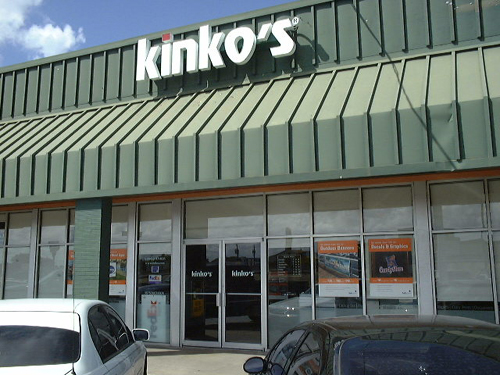
Printing your Shockbox inserts: The following information is soley based on my experience in printing these inserts and I don't claim to be any kind of an expert in the field. I picked up a lot of tips from multiple places including Nick_the_fury's site (see links), Big Bears Shockbox site (see links) and from the Creative forum itself at neo-geo.com (also in Links section). This section is aimed towards the users without high-end printers but wish to have high-quality prints for their Shockboxes. All of my experience printing inserts comes from the five trips to Kinkos (Printing Shop) I have taken. If you do not have a "Kinkos", I am certain you have some kind of a professional printing service shop so just look around. Let's go to Kinkos
Ok, you have your inserts stored on a disc (PDF files you extracted). Lets get you talking like a print pimp before you get to the counter. When you take your disc/order to the counter, this is what you will ask for (if you want you can include this information on your printed list of files.)
"Glossy Tabloid, Heavy Stock" - thats it! You say those four words and your a PRINTING GOD! - you might not even need to say the heavy stock part but what the hell, its worked for me everytime. This basically tells them the type and size of paper you wish for your files to be printed on (11X17 glossy tabloid). Might also be a good idea to let them know you want them in color.
Once you have dropped off your order/disc with them, you may need to return the next day or perhaps later that day. If you don't have the patience or desire to make multiple trips to this place then your other option is to go in the evening when things have slowed down and they will likely print your inserts right away with a minimal waiting time.
Your Order Sir! When you pick up your order, this is what your prints will look like:
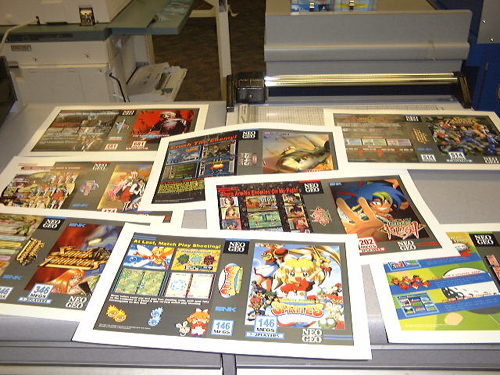
Notice that they are nicely centered within the tabloid sheets. Your next task is to CUT them out!
SUPER ROLLER CUTTER!
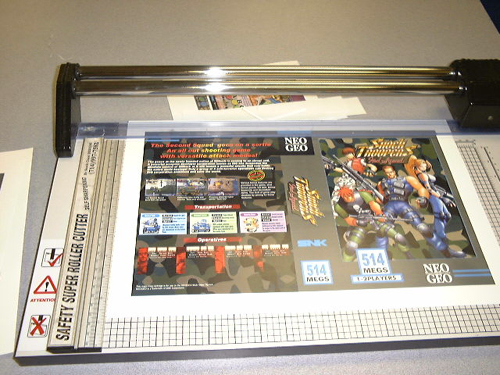
Lay down the AXE and cut out your wonderfull new inserts for your Shockboxes! Some people elect to use scissors or exacto-knives, etc. These cutters are there at the store and for your convenience and ABSOLUTELY FREE!. You would be a fool not to take advantage of this wonderfull tool but to each their own. I wouldn't go in Samurai style right off the bat, take it nice and slow until you get a feel for the cutter and how it works. Chip away at the white until all you see is your insert.
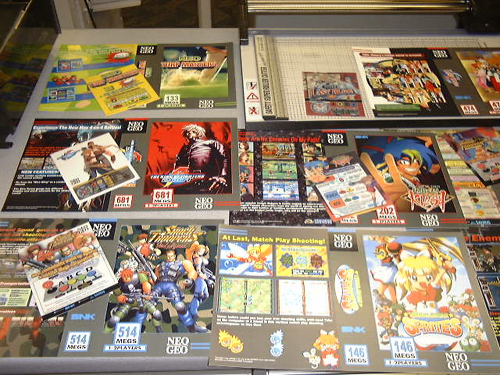
After 5 trips of printing these things, you become faster and more precise. This image shows my latest trip to Kinkos to finish up the remaining titles I needed inserts for. You'll notice some mini-marquees in this image, this is something I do while I am waiting for my prints. They have lamination machines throughout the store for everyone to use so I make these MM's and cut them out etc. for my 4 Slot Candy. Your done! Time to go home and slide them in those kickass Shockboxes!
Here are some pics of the above inserts at home!
Oh man, how sexy is that!? Classic-Shock in its full Glory!
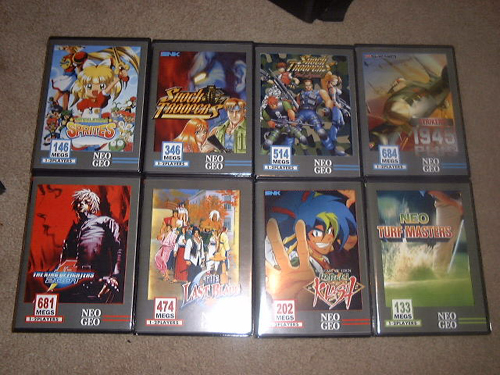
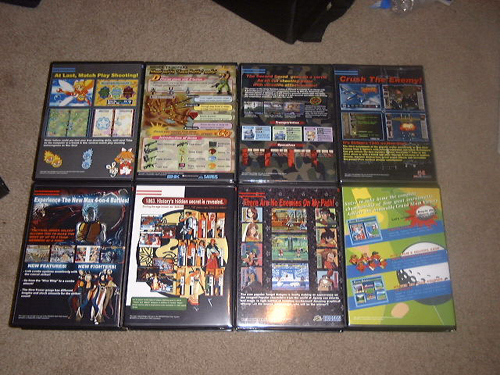
Here they are with the rest of the crew:

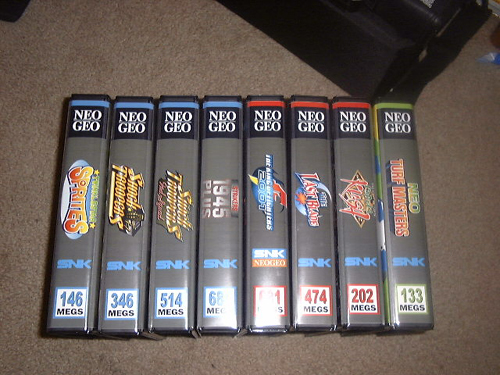
This shows my complete MVS collection and a few of my AES carts (at the bottom). The Pulstar and Sonic Wings 3 inserts were my first two (before the Classic-Shock was born) as you can see the meg count/ boxes and spine layout is a bit off compared to the rest. Although fixed for you guys, I doubt I will ever re-print those two.
You should be armed and ready to print your inserts. Get to it!
-NeoCverA
SNK, Neo Geo, and all other trademarks are copyright SNK Playmore.